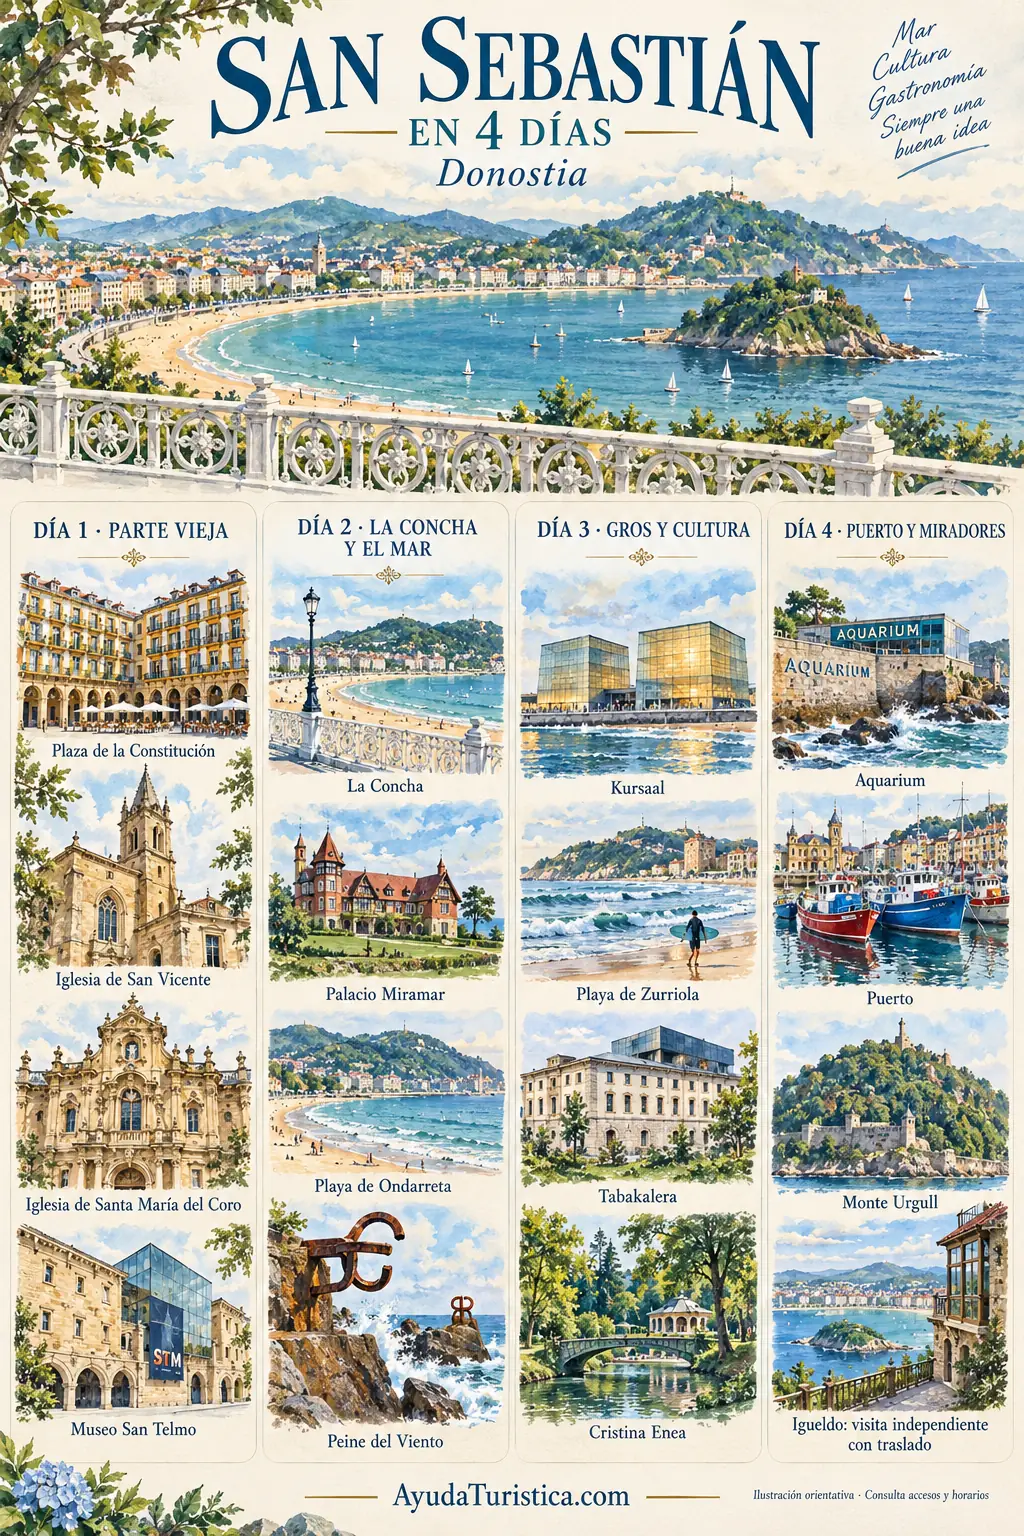
Constitution Square occupies a central place in Old Town life. Its arcades and regular façades create an enclosed space within the surrounding streets. Notice the balcony numbers, a reminder of its former use for bullfights. This detail helps you imagine celebrations and spectators in a square now shared by residents, café terraces and visitors moving through the heart of the neighbourhood.
San Vicente was built in the early sixteenth century in the Basque Gothic style. It introduces architecture different from the Baroque character of Santa María del Coro. Notice the church's volumes and how they fit into the Old Town. Comparing the two churches reveals that the neighbourhood preserves different periods, rather than a single frozen image of an imagined historic past.
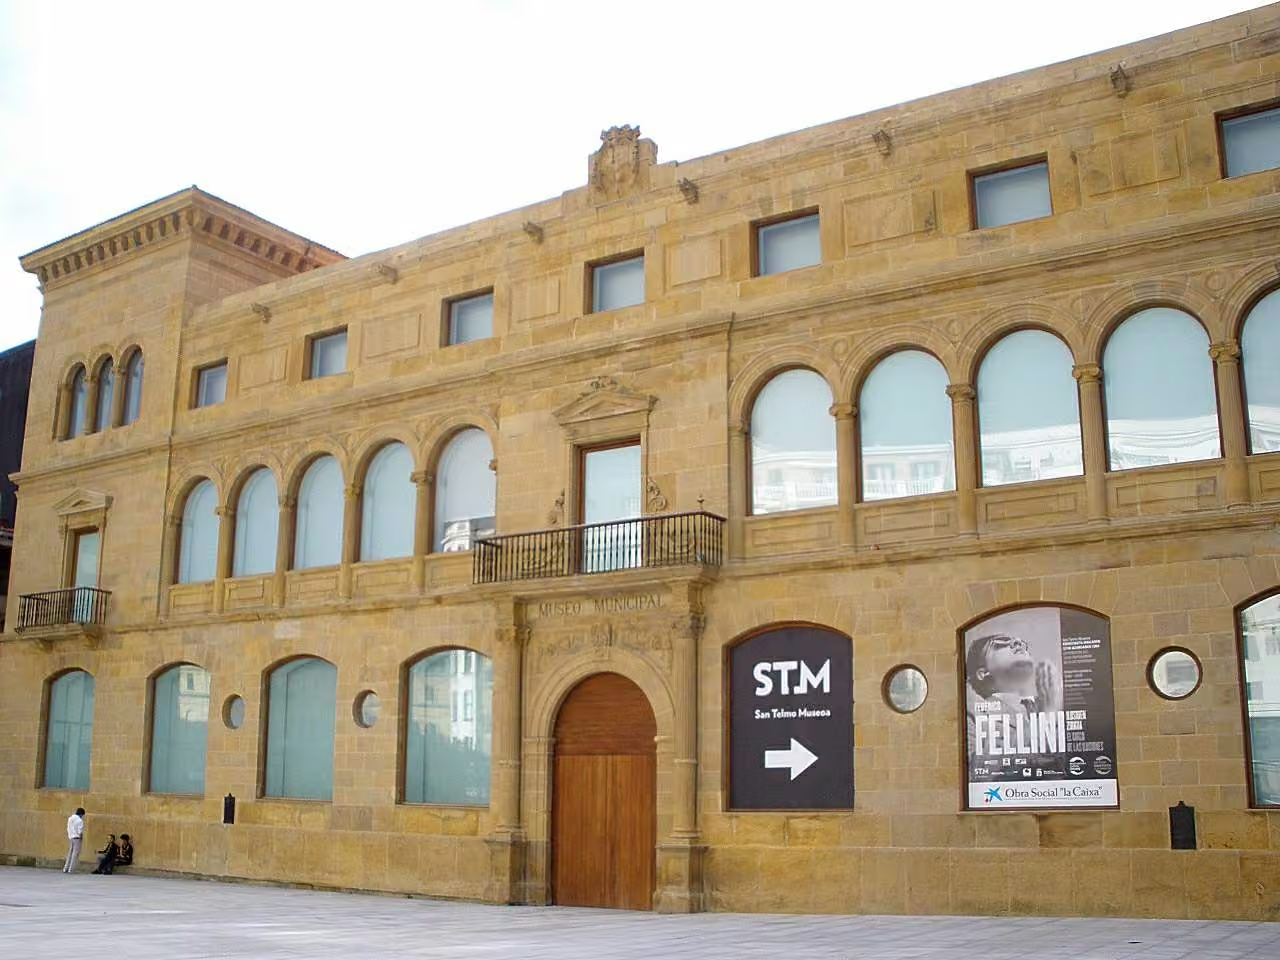
San Telmo occupies a former Dominican convent dating from the sixteenth century. The building connects architectural history with an interpretation of Basque society. Before entering, notice its relationship with the Old Town and Urgull. Inside, follow a few stories carefully: a museum can be enjoyed through thoughtful selection rather than simply trying to accumulate as many rooms as possible.
Santa María del Coro is an eighteenth-century Baroque basilica overlooking Calle Mayor. Its façade combines abundant ornament with an image of Saint Sebastian. Approach gradually to distinguish the overall composition from individual details. In a city of compact streets, this religious presence also shapes the urban perspective, turning the approach through the Old Town into part of the architectural experience.
La Concha stretches from the City Hall to Pico del Loro and forms one of San Sebastián's most recognisable images. Here the city appears as a sequence of beach, promenade and buildings facing the water. Follow the curve of the bay with your eyes and compare its two ends. Part of the place's appeal lies in this relationship between landscape and everyday urban life.
María Cristina commissioned Miramar Palace, built in 1893 as a summer residence. Its English inspiration contrasts with other monumental architecture in the city. From the gardens, notice how the building overlooks the bay between La Concha and Ondarreta. The ensemble recalls the importance of royal summer holidays in shaping both the image and development of San Sebastián as a seaside city.
Ondarreta combines beach and garden within the same walk. Geometric flowerbeds are arranged around a central axis, with spaces sheltered by hedges from the sea breeze. Notice the contrast between this planted order and the open forms of the bay. Towards Igeldo, the sequence of sand, gardens and sculpture turns the coast into a cultural route as well as a seaside promenade.
Installed in 1977, the Wind Comb combines Eduardo Chillida's sculpture with a setting designed by Luis Peña Ganchegui. The surroundings are not just a backdrop: wind, rock and waves contribute to the experience. Notice how the steel forms grip the edge of the sea. Enjoy the work from permitted areas, particularly when rough weather makes the water more forceful.
Rafael Moneo designed the Kursaal, completed in 1999. Its large volumes create a contemporary presence beside the mouth of the Urumea. Observe them from different points along the promenade: they change the relationship between city, sky and sea. The building shows that San Sebastián's architectural identity includes both its elegant past and deliberately new interventions in the urban landscape.
Zurriola reveals San Sebastián's sporting relationship with the sea. Beside Gros, it is especially associated with surfing and contrasts with La Concha's more sheltered image. From the promenade, watch the lines of waves and activity on the sand. The beach introduces a city lived outdoors, where the coast is not merely scenery but a setting for movement and recreation.
Tabakalera was a tobacco factory from 1913 to 2003. Its cultural conversion retains the presence of a large industrial building while changing what happens inside. Compare the scale of the façade with today's spaces and think about the people who worked here. The visit introduces another side of San Sebastián's history, connected with labour and contemporary creative activity rather than seaside leisure.
Cristina Enea bears the name of Cristina Brunetti, wife of Fermín Lasala, Duke of Mandas. The park reveals a personal story behind one of the city's green spaces. Notice the route among the trees and its relationship with the central building. Slow your walk here and consider how a private garden can become part of shared urban memory and everyday public life.
Urgull and Igueldo are separate hills. After the harbour, choose one ascent or allow time and transport to change areas; these four stops are not a short walk. Boat services may depend on sea conditions and season.
The Aquarium opened in 1928 beside the harbour, bringing together marine education and training associated with fishing. Its position on the rocks reinforces the relationship between building and sea. Before entering, notice the supports, openings and viewpoints. The stop recalls that understanding the ocean also belongs to San Sebastián's history, alongside its beaches, boats and working harbour activities around the bay.
The harbour shelters south of Urgull and combines fishing heritage with a recreational basin. Its compact scale reveals the closeness between city life and maritime work. Observe moorings, boats and access to the water without entering service areas. This stop recalls San Sebastián's continuing relationship with the sea, beyond the beaches and scenic views associated with its role as a visitor destination.
Urgull served as a military fortress from the twelfth century and preserves traces of sieges that shaped San Sebastián. Its paths combine vegetation, defences and views. As you climb, imagine the importance of controlling this headland between sea and town. Each changing perspective helps explain why the hill mattered strategically before becoming a place for walking and enjoying the landscape.
The 1912 funicular makes the ascent to Igeldo part of the visit itself. At the top, the amusement park retains an atmosphere of leisure from another era. Look at the curve of the bay and identify the ends of the seafront promenade. From this height, you can understand how San Sebastián is arranged around the water and between its hills.